.
I have been very negligent in updating this blog mainly because restoring boats is simply not an orderly, chronological process that moves ahead in a linear fashion; in reality I may be working on 5 projects of which 2 may be progressing while 2 are not and 1 is going backwards. In the meantime, all sorts of other stuff can happen, like pandemics or invasions... This means I don't really have many actual, totally completed projects to present. Everything seems to be pending something else. The illusion of orderly, consistent progress on diy sites is false!

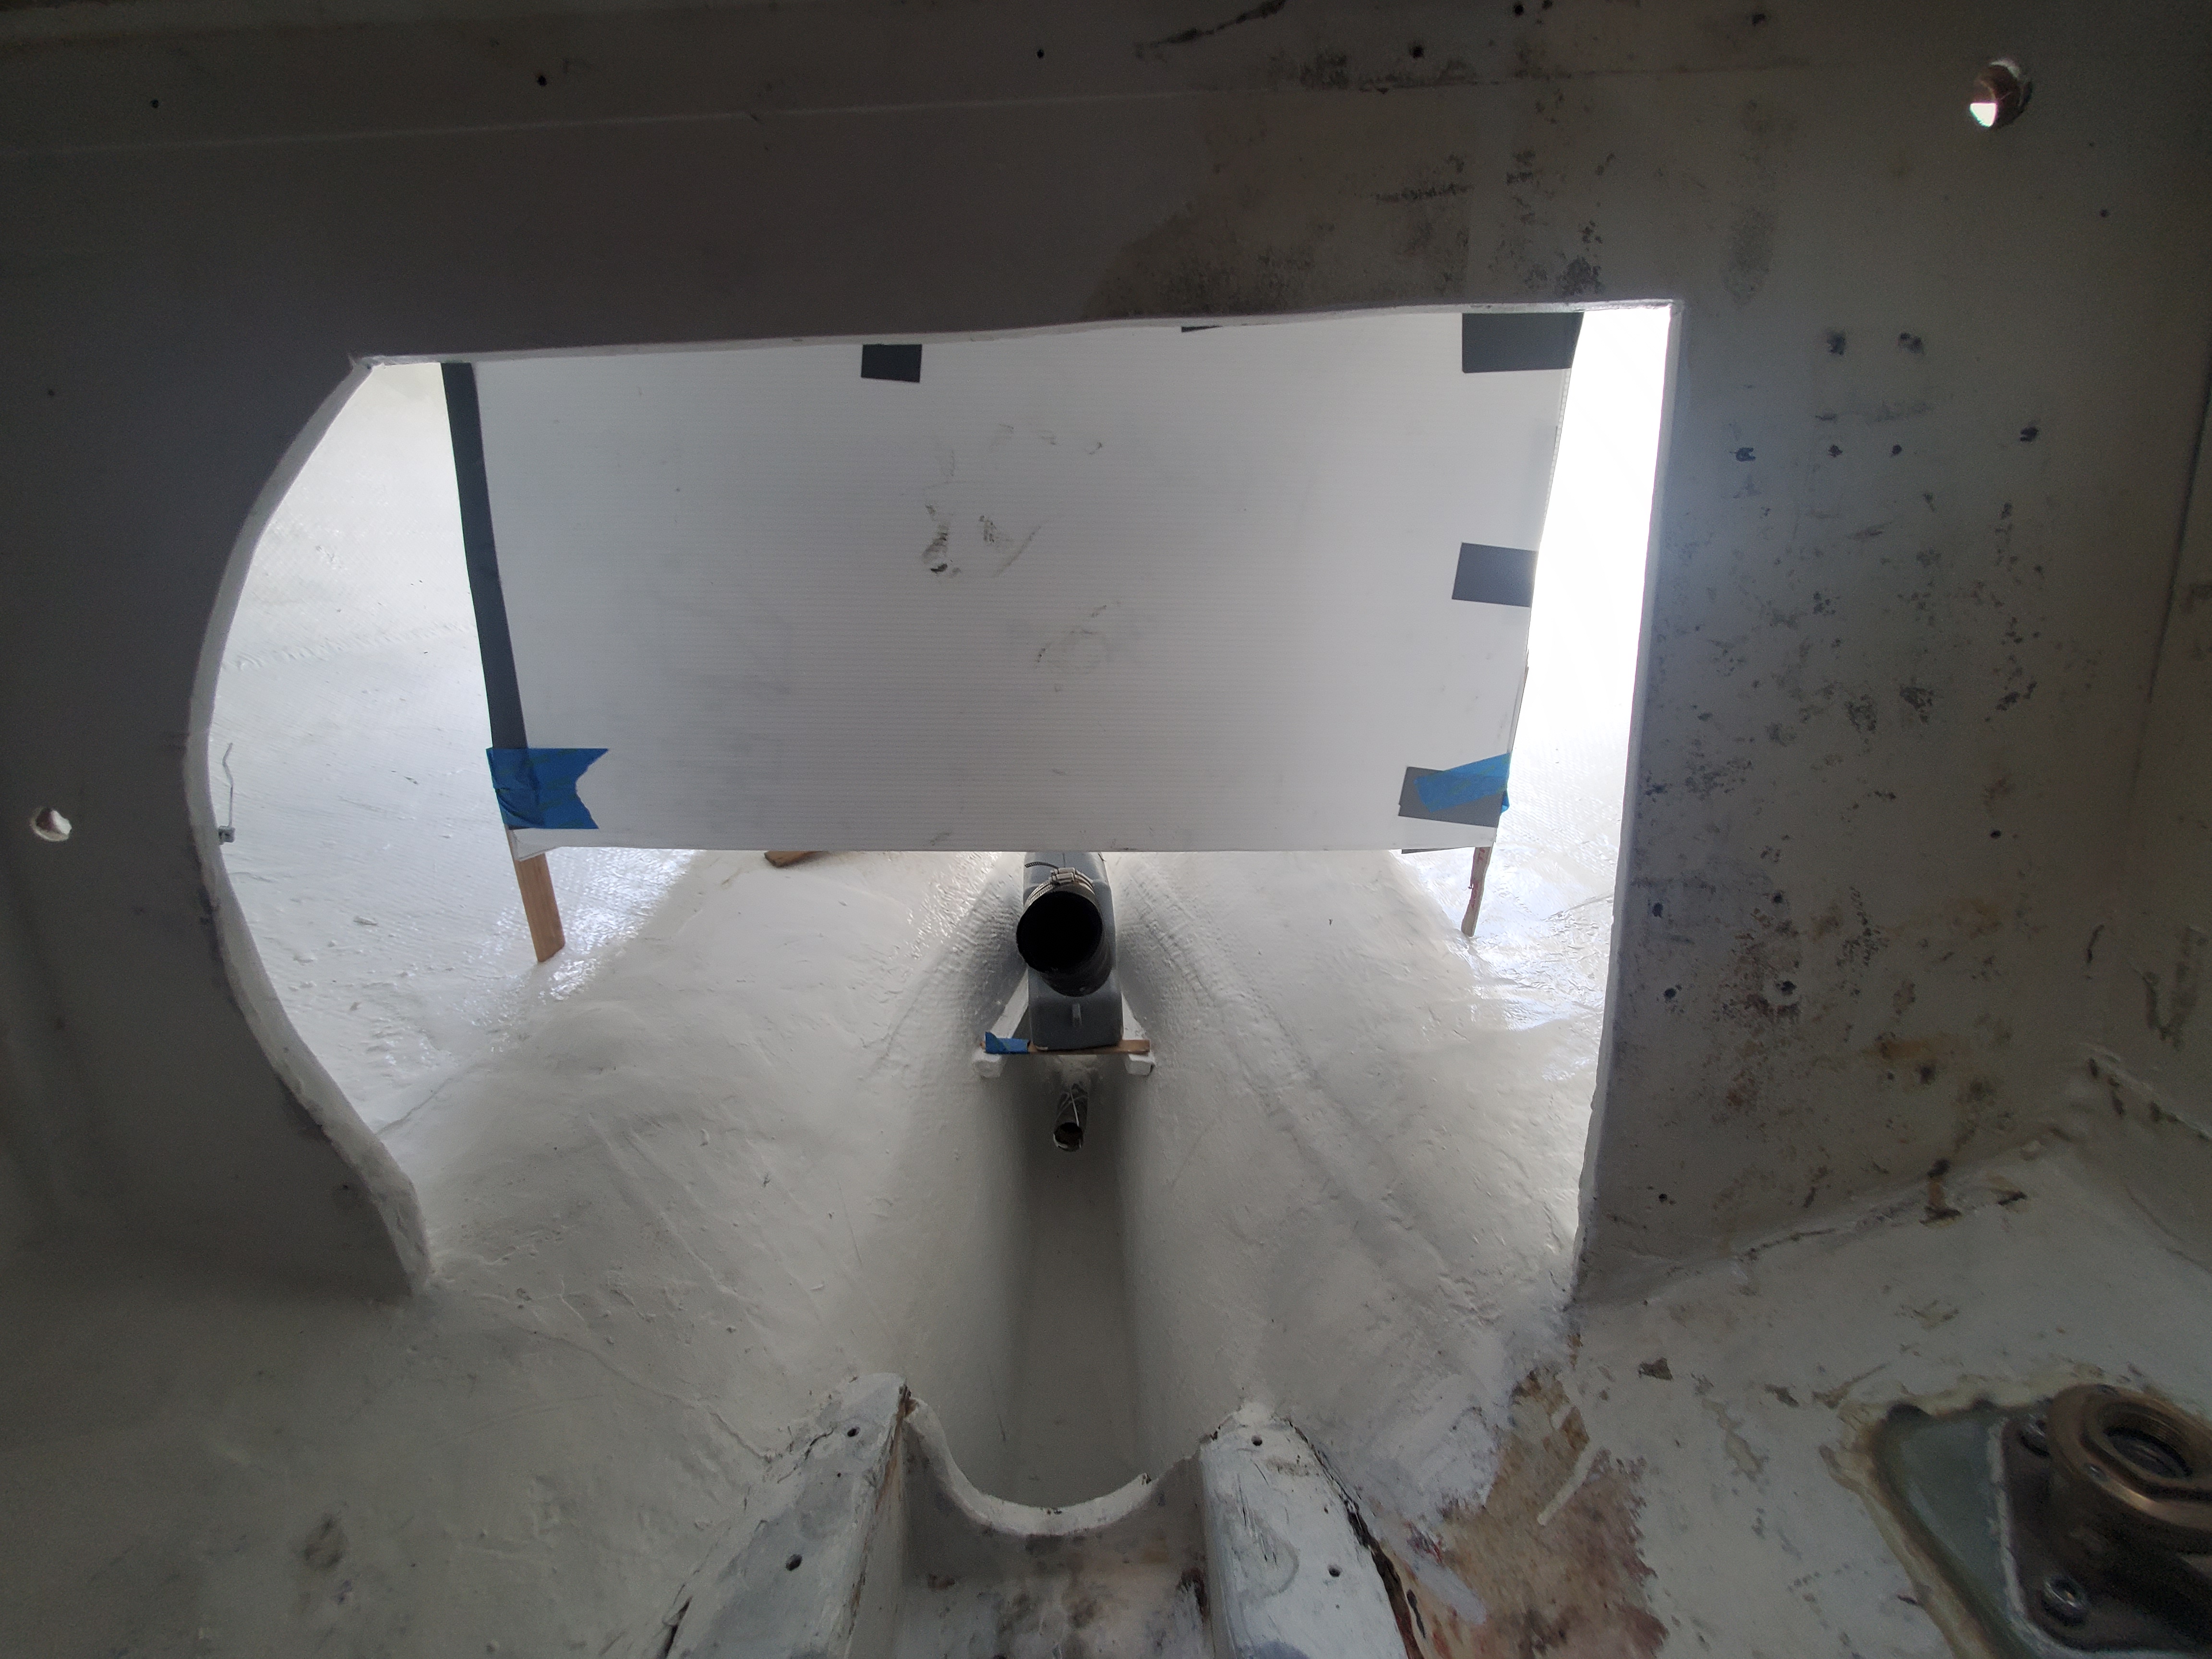
Making sure new fuel tank can clear water muffler and exhaust hose (which previously chafed under old fuel tank cradle)
However there are a few projects that have enough progress to be worthy of an update post. Clearing out the engine bay and restoring (improving!) the area under the cockpit sole was one such project, though that too is not really "done." Nothing is!
My goal was to clean up the engine bay, remove the old fittings, wires, hoses etc and also fill in the bilge sump, which is the deep dark inaccessible crevice under and behind the engine, then paint whole area before installing new fuel tank and the rebuilt engine.
This area is quite inaccessible. Even without the prop shaft in the way, it is just too deep to reach. Anything that falls in there is pretty much a goner & there would be no way to address a hull breach if for example the boat should back up on a bommie. So now with the engine and fuel tank out, filling up the area with marine expanding foam and glassing it over permenently was a priority
Test fitting a dummy fuel tank. I think I may be able to go from 26 gal poly tank to a 50 gal aluminum tank.
Pouring in the expanding foam. I used three 32- Oz mixtures but poured them in only after giving the previous mixture time to expand.
The end, with coat of two-part paint over gelcoat (easier cleaning) and waiting to install autopilot ram arm.


I filled in the area with 6lb expanding foam, poured through a hole cut into the cover plate. The trick is to go slow.

The hole where the expanding foam is poured in.
Because of tight space under the prop shaft log, I could not pour in the foam from all the way at the top. So the last few inches on the top were filled--in with hardware store gap filler foam before being glassed-over and sealed permanently


The cut-out "lid" fitted diagonally over the bilge sump area, cut out of 1/4" pvc sheet, being glassed-in.

Using battens to make a diagonal template of the bilge sump area. Diagonal because the bilge pump hoses must pass through here, under the engine cradle, and the leaks if any from the prop shaft packing gland will roll forward (along with any tools dropped in here now)

The area immediately under the engine will not be filled because the bilge pump hoses will pass through here. (A bottle-jack placed here under the engine will make it easier to move and align the engine too.)
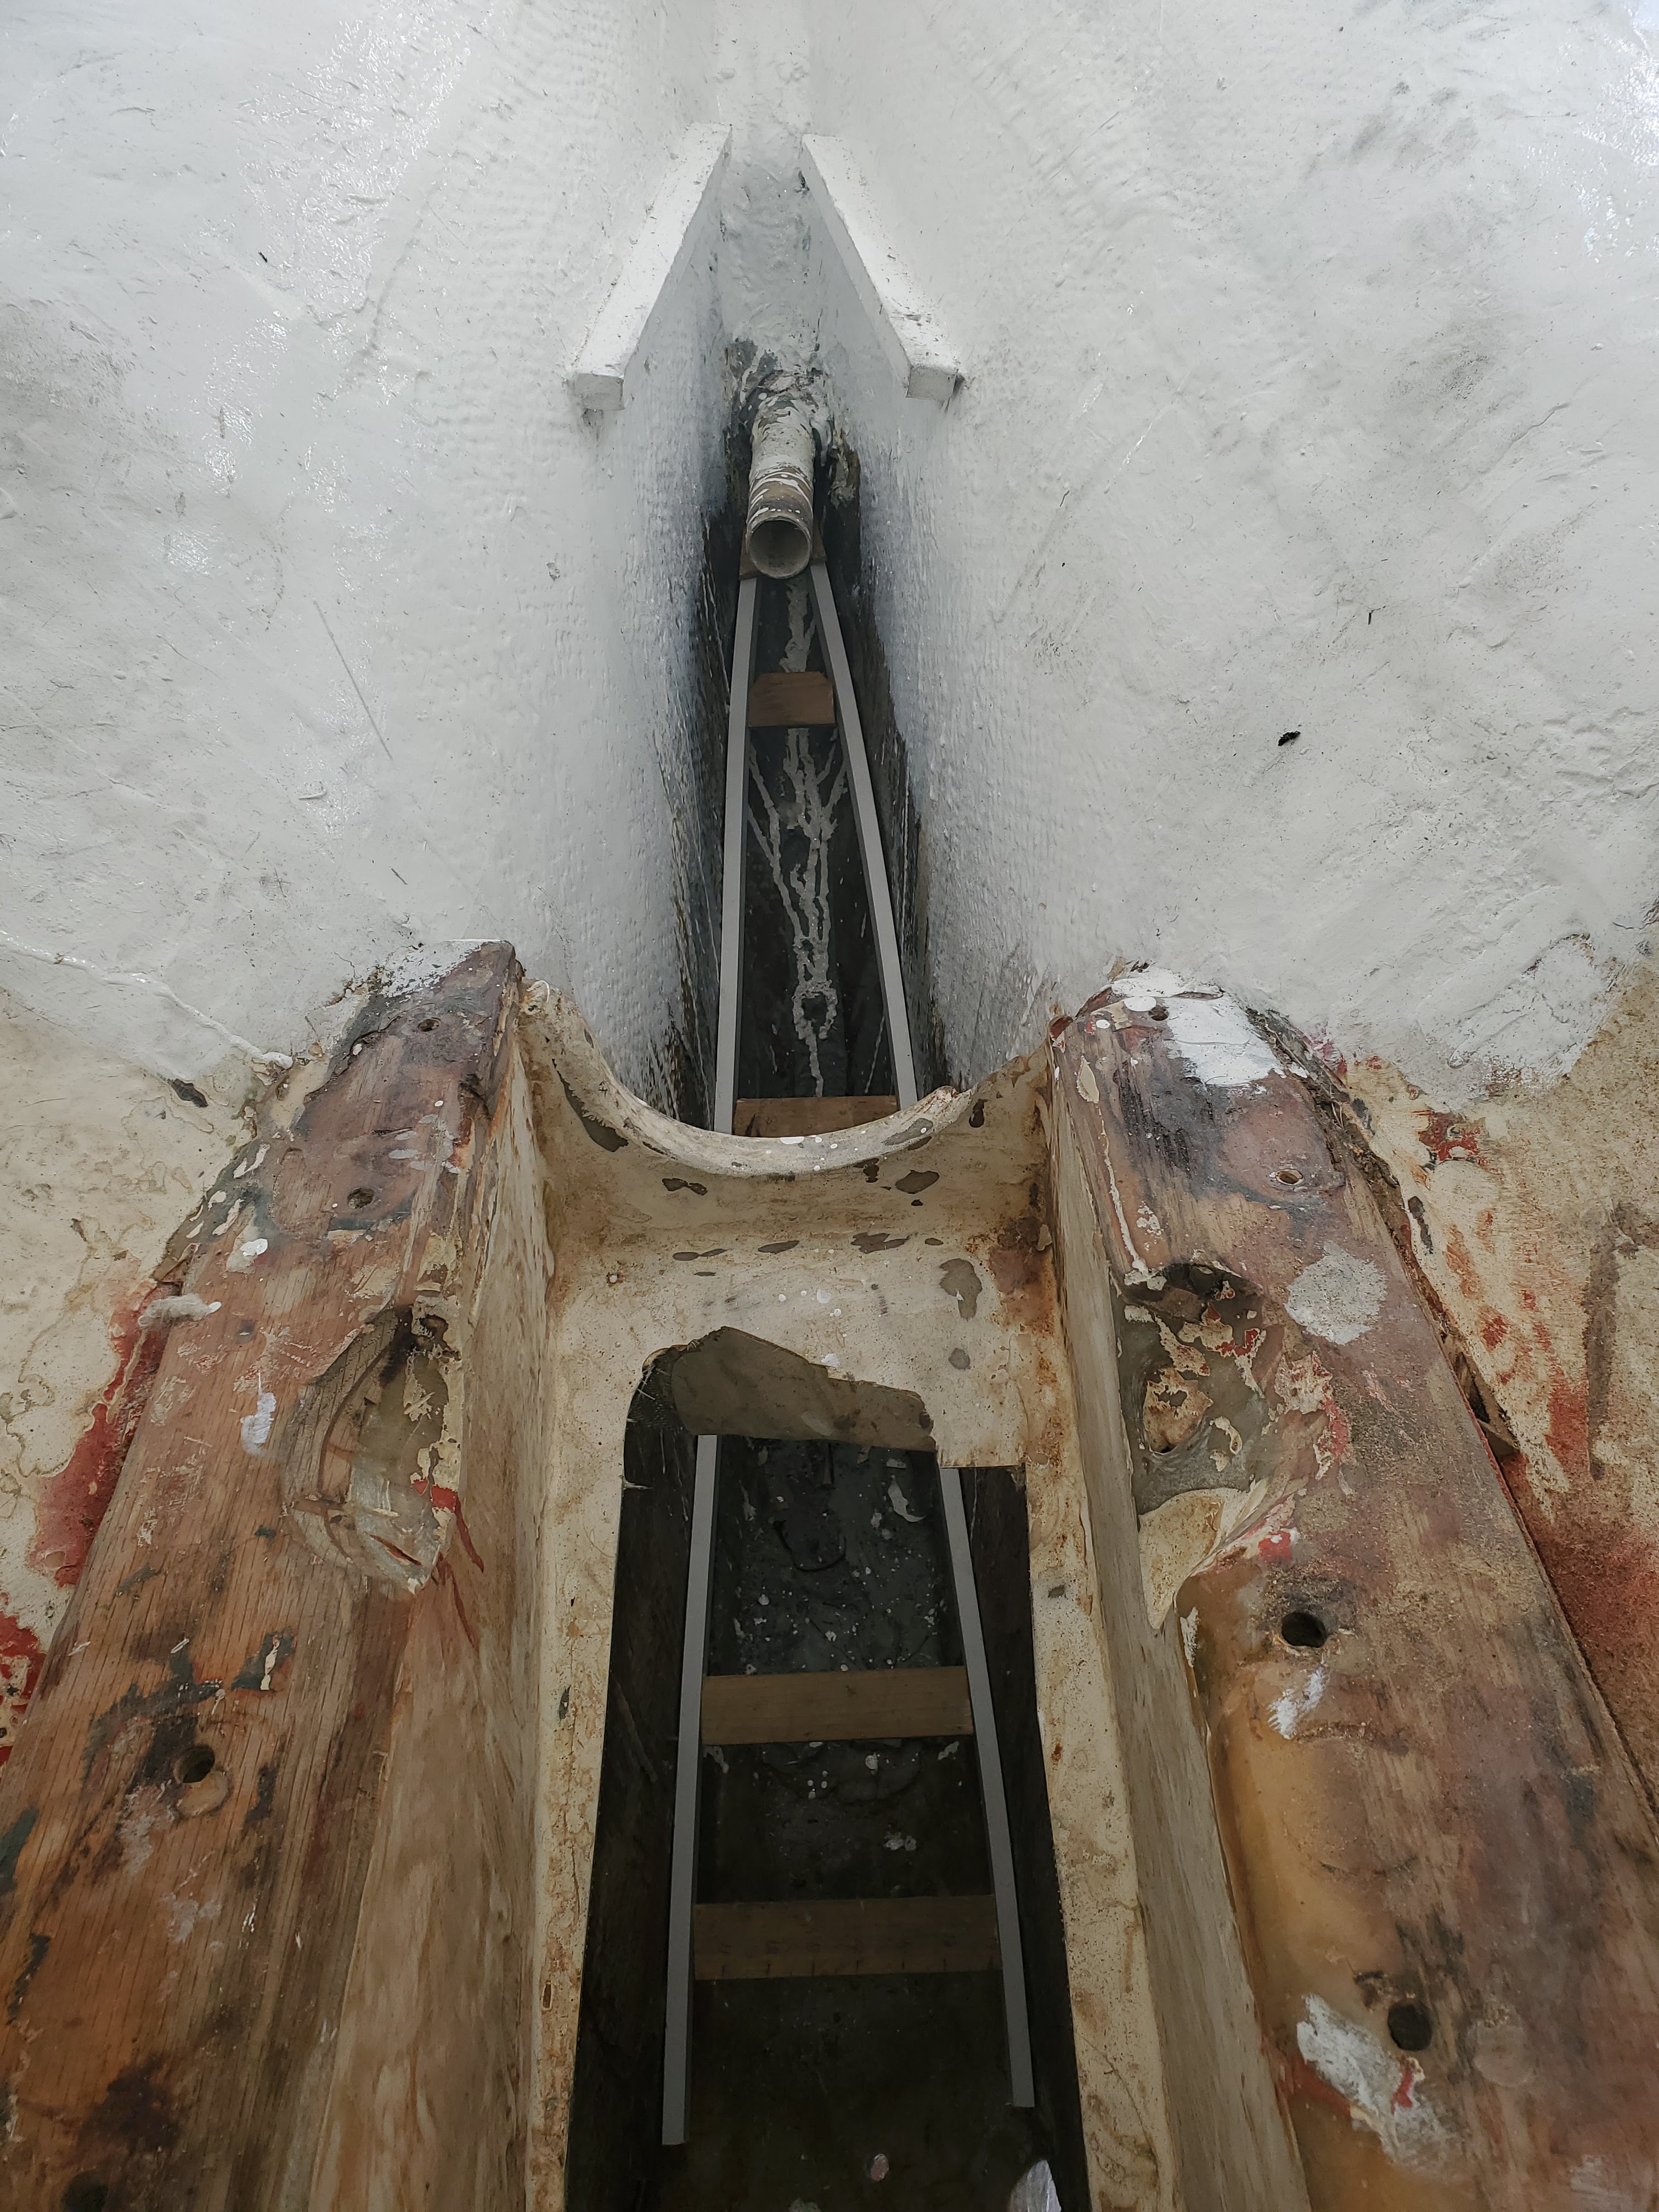
The stuffing box or packing gland for the prop shaft cleaned up well with a quick acid bath. Whole post on that later!


A whole post dedicated to this is coming later but note use of regular exhaust hose with wire, as a stuffing box hose (held with the old serrated hose clamps.) These will change when Iget around to redoing the packing gland


Before. Yuckie!


There was a lot of sloppy fiberglass work that had to be ground-away. Two pieces of timber seem to support each side of the cockpit but the glassing around them, where buyers were unlikely to check, was a mess with giant fist-sized globs of filler and poorly adhered matting.

